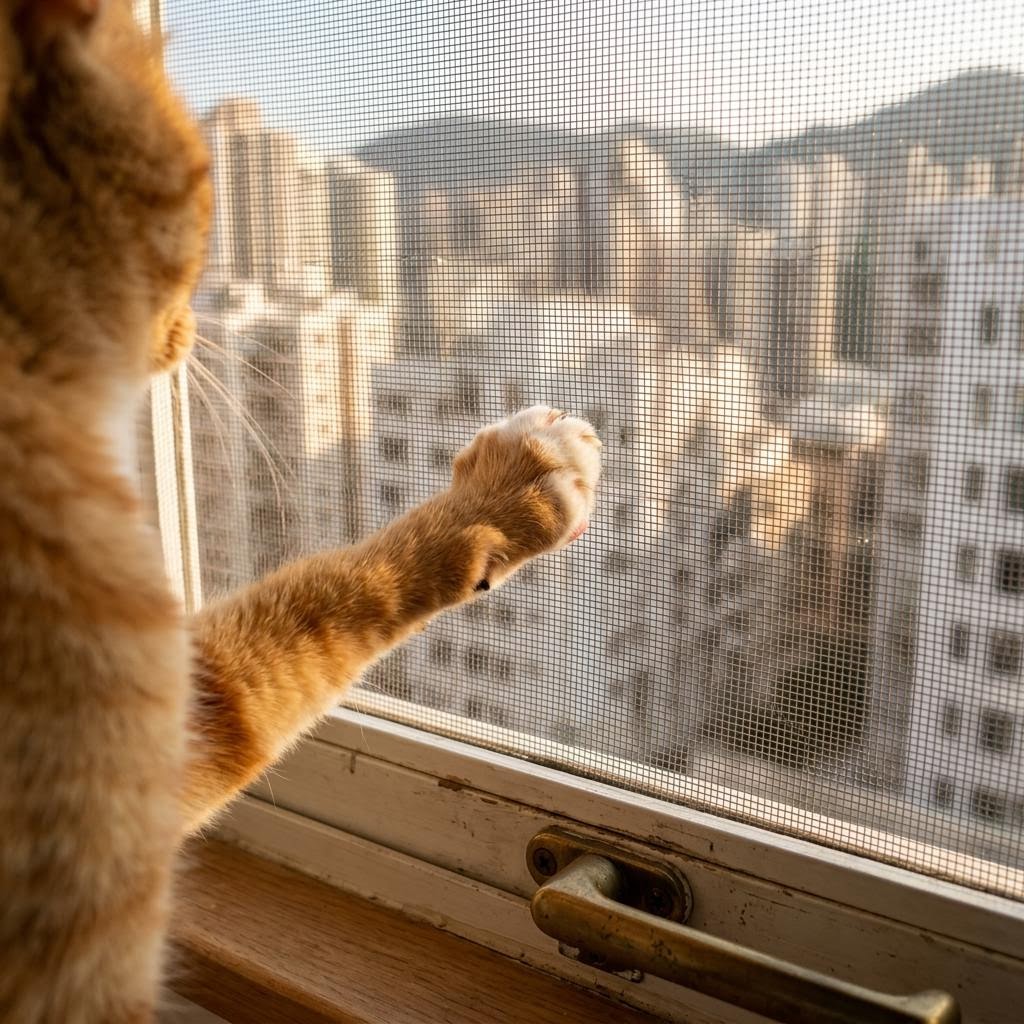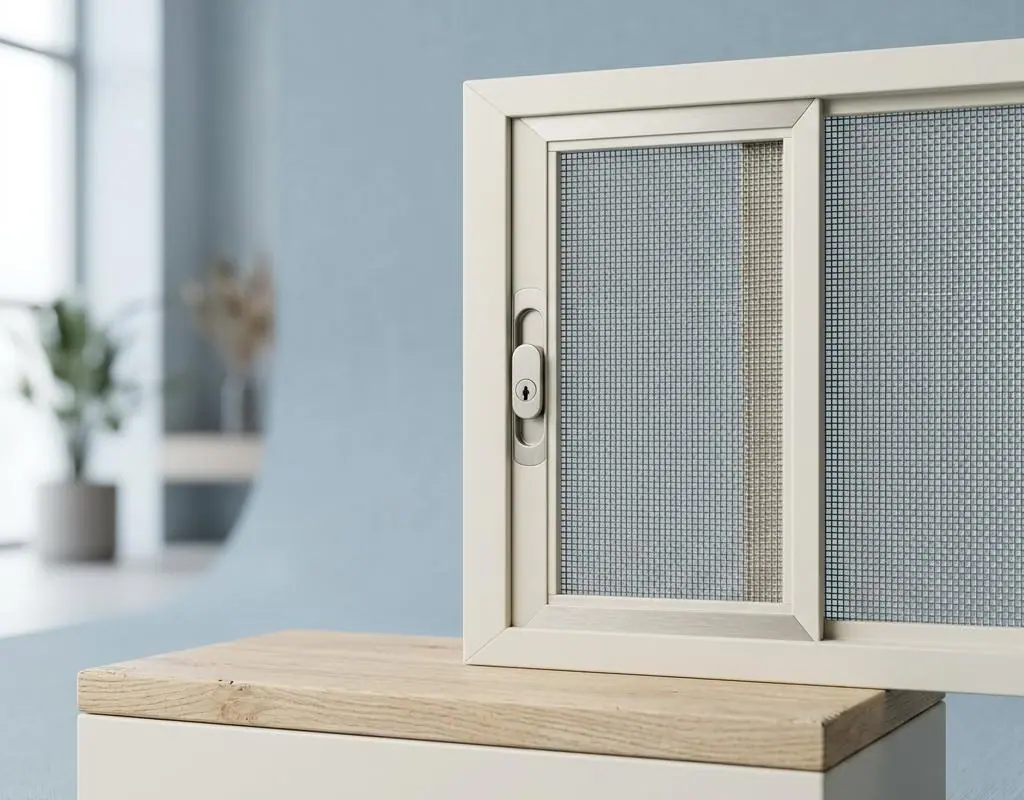
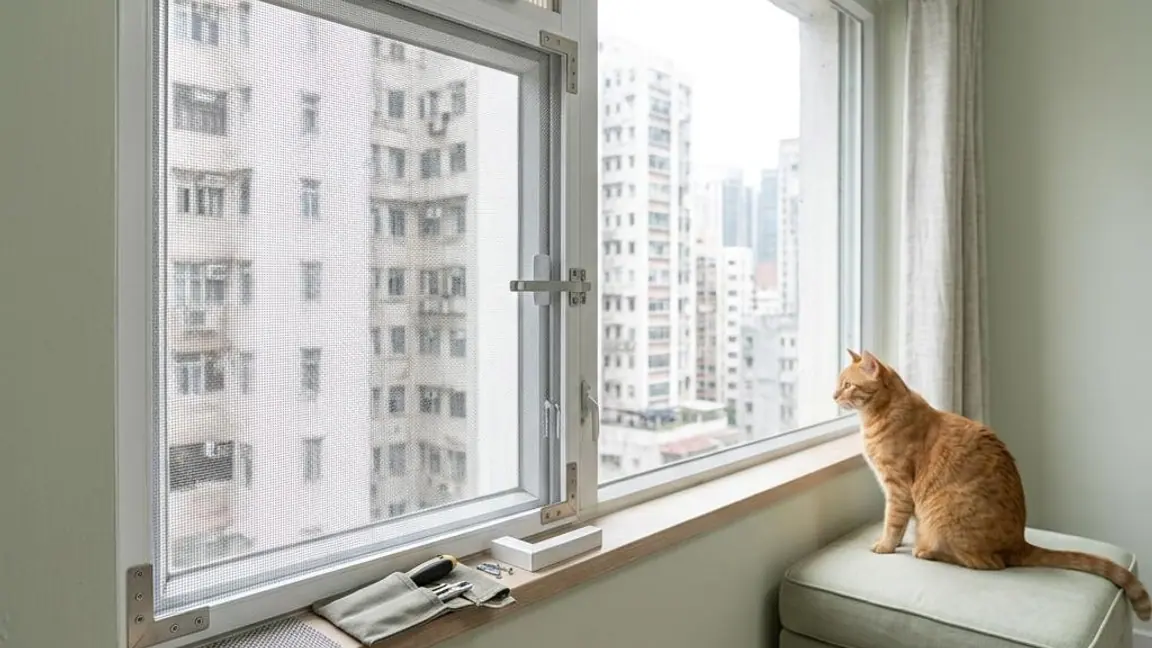
Cat-owning households often face a dilemma: how can they ensure their cats' safety without restricting their freedom? For cat owners living in high-rise buildings, this issue is especially important. Installing cat screens provides a solution that is both simple and effective. This article will provide a detailed guide to installing cat screens, so both beginners and experienced DIY enthusiasts can find valuable information.
The importance of cat screens
Installing cat screens ensures the safety of indoor cats, preventing them from falling from heights or escaping into dangerous outdoor environments. Especially for curious cats that like heights, cat screens are a necessary facility to ensure they do not take risks climbing onto balcony railings or out the window.
Choose the right cat screen
Material selection:
Nylon mesh: lightweight, breathable, and has little impact on the view, but may not be bite-resistant enough.
Stainless steel mesh: sturdier and more durable, suitable for active and energetic cats, but it is heavier, and installation may require stronger support.
Considerations:
Cat size and temperament: larger or particularly active cats may need a more sturdy cat screen.
Window size and type: Different window sizes and opening methods may affect the installation method of the cat screen.
Rental restrictions: if you are living in a rented home, you may not be able to drill into walls or window frames, in which case you can choose no-mark hooks or strong adhesive strips.
Cat screen installation steps
Prepare tools and materials:
Cat screen
Tape measure
Spirit level
Drill bit and electric drill
Screws and plastic expansion plugs
Hook, buckle ring, or special fixing clip
Scissors or professional net-cutting tool
Safety gloves