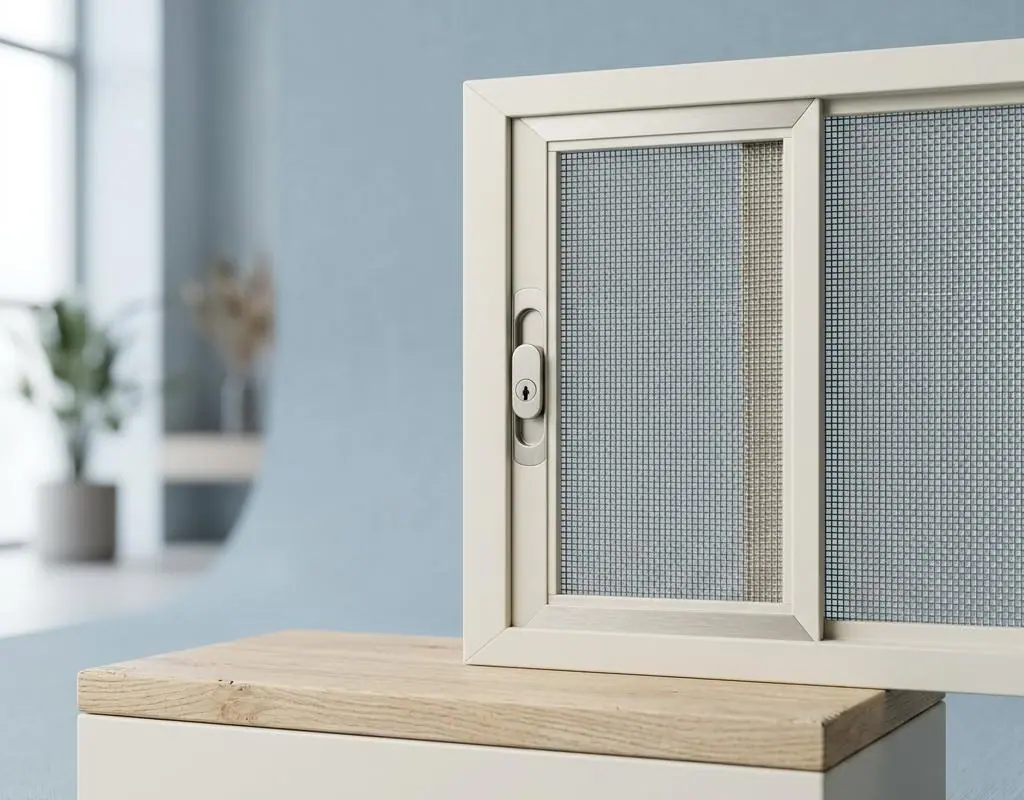
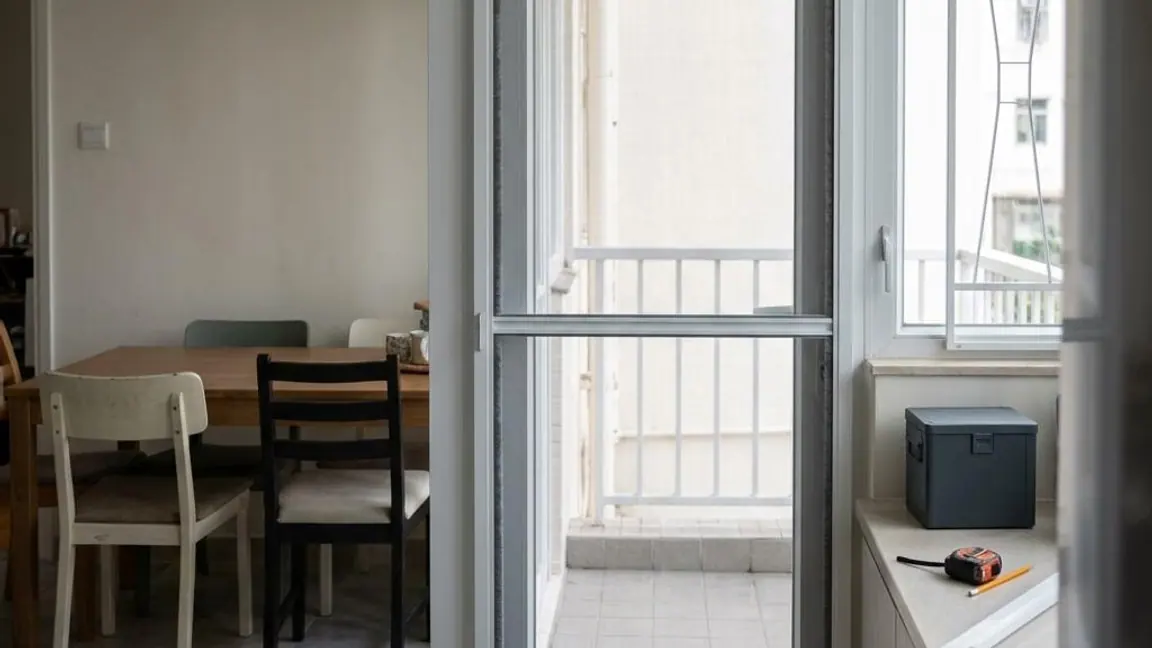
As summer arrives, insect activity begins to increase. If precautions are not taken at home, it will be affected by insects. Installing a door insect screen is one of the effective measures to prevent insects from entering indoors. This article will introduce the steps and precautions for installing a door insect screen, helping you keep your home cool and comfortable during the hot summer.
Preparation work
Before installing a door insect screen, some preparation work is first required:
Choose the right insect screen: There are many styles of door insect screens on the market, including magnetic, zippered and fixed types. Choose the right style according to your needs and the type of door.
Measure the size of the door: Use a tape measure to measure the height and width of the door, and make sure the insect screen you buy can fully cover the door frame.
Prepare the required tools: The tools generally needed include screwdrivers, scissors, measuring tools, double-sided tape or fixing nails, etc. Prepare the corresponding tools according to the installation method of the insect screen.
Installation steps
1. Clean the door frame
Before installation, please clean the door frame with clean water and a dry cloth to ensure the surface is free of dust and oil, so as to improve the adhesion of the insect screen.
2. Install fixing devices
Install the fixing device according to the type of insect screen you choose:
Magnetic insect screen: Stick the double-sided tape strips onto the door frame, then attach the edges of the insect screen to the double-sided tape, making sure the bond is secure.
Zippered insect screen: First install the fixing strips on both sides of the door frame, then secure the insect screen to the fixing strips according to the instructions.
Fixed insect screen: Use a screwdriver to secure the edges of the insect screen to the door frame, making sure each fixing point is tightened properly.