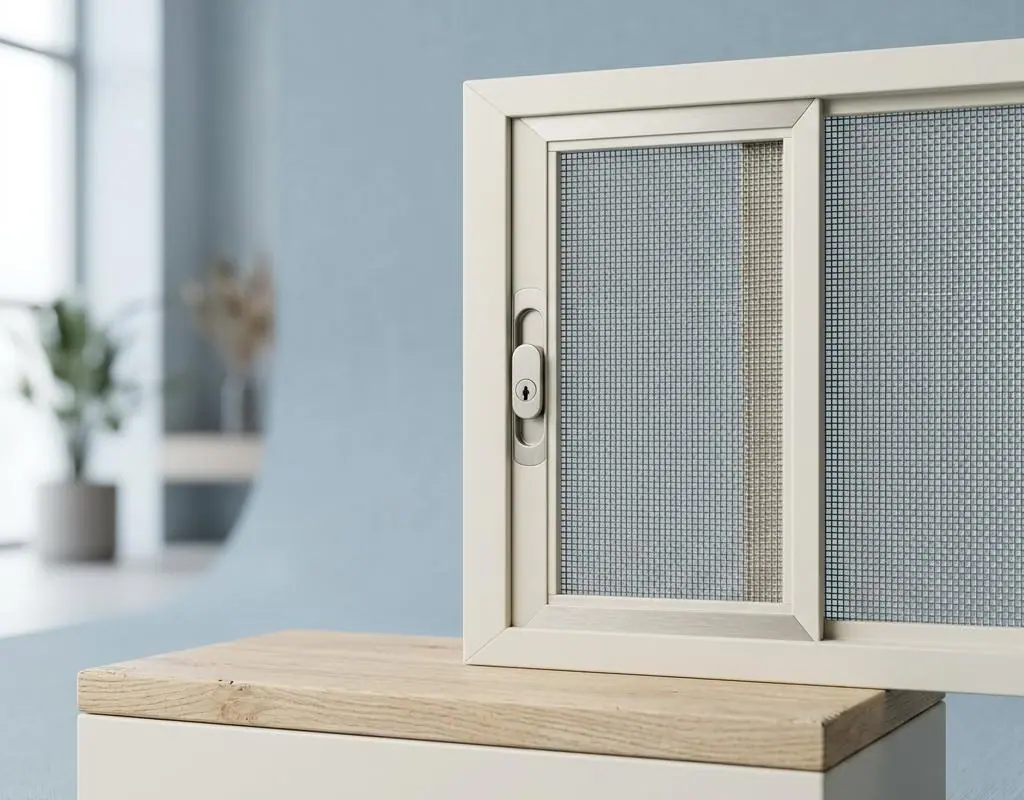
Mosquitoes have become a major nuisance in many people's lives. To effectively prevent mosquitoes from entering indoors, installing insect screens is a simple and effective solution. Insect screens not only block mosquitoes, but also keep indoor spaces ventilated, allowing you to enjoy the natural scenery while avoiding mosquito bites. This article will introduce in detail how to install insect screens on windows, helping you easily solve this problem.
Choose the right insect screen
Before installing an insect screen, you first need to choose the right type of insect screen. Common insect screens on the market include fixed, removable and magnetic insect screens. Fixed insect screens are usually sturdier and suitable for long-term use; removable insect screens are convenient for cleaning and maintenance and are suitable for households that need to open and close windows frequently; magnetic insect screens are easy to install and are suitable for users who do not want to enlarge holes in the window. Choose the most suitable type of insect screen according to your needs and the type of window.
Prepare installation tools
Installing insect screens requires some basic tools. You may need the following tools:
1. Measuring tools: such as a tape measure, used to measure the size of the window.
2. Scissors: used to cut the insect screen material.
3. Tape or nails: Choose suitable fixing materials according to the insect screen installation method.
4. Level: Ensure the insect screen is installed level.
Before starting installation, make sure all tools and materials are ready, so that installation efficiency can be improved.
Installation steps
1. Measure window dimensions
First, use a tape measure to measure the width and height of the window. This step is very important, because accurate measurements can ensure that the insect screen fits the window perfectly after installation, avoiding any gaps.
2. Cut the insect screen
According to the measured dimensions, cut the insect screen to a suitable size. It is recommended to leave some extra edge when cutting, for use when fixing it.
3. Clean the window frame
Before installation, clean the window frame thoroughly to ensure there is no dust or oil, so as to improve the adhesion of the insect screen.
4. Install the insect screen
According to the type of insect screen, choose a suitable installation method. If it is a fixed insect screen, you can use nails or tape to secure it to the inside of the window frame; if it is removable, you can fix it according to the manual; and a magnetic insect screen only needs to be aligned with the window frame and easily attached.
5. Checking and adjustment
After installation is complete, check whether the insect screen is securely installed and make sure there are no gaps left. If problems are found, appropriate adjustments can be made to ensure the sealing of the insect screen.
Looking for professional team help
If you are unsure about installing insect screens, or want more professional service, seeking help from a professional team is a good choice. A professional installation team can provide tailor-made solutions based on your needs and ensure the quality of the insect screen installation. They have extensive experience and professional tools, and can complete the installation quickly and effectively, so you do not have to worry about the details during the installation process.
Installing insect screens is a simple and effective mosquito-prevention measure that can help you enjoy a comfortable indoor environment in summer. By choosing the right insect screen, preparing the necessary tools and following the correct steps for installation, you can easily solve mosquito problems. If you have any doubts about the installation process, the assistance of a professional team will make your installation process smoother. We hope this article helps you install insect screens on your windows and makes your home a more comfortable haven.