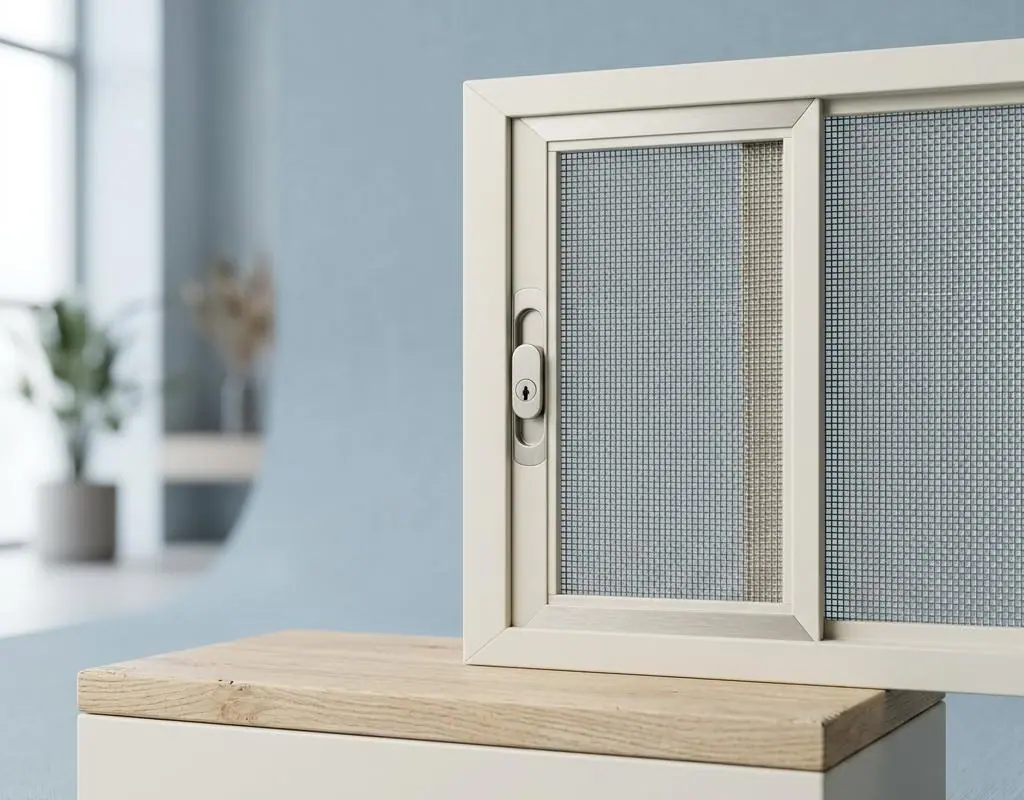
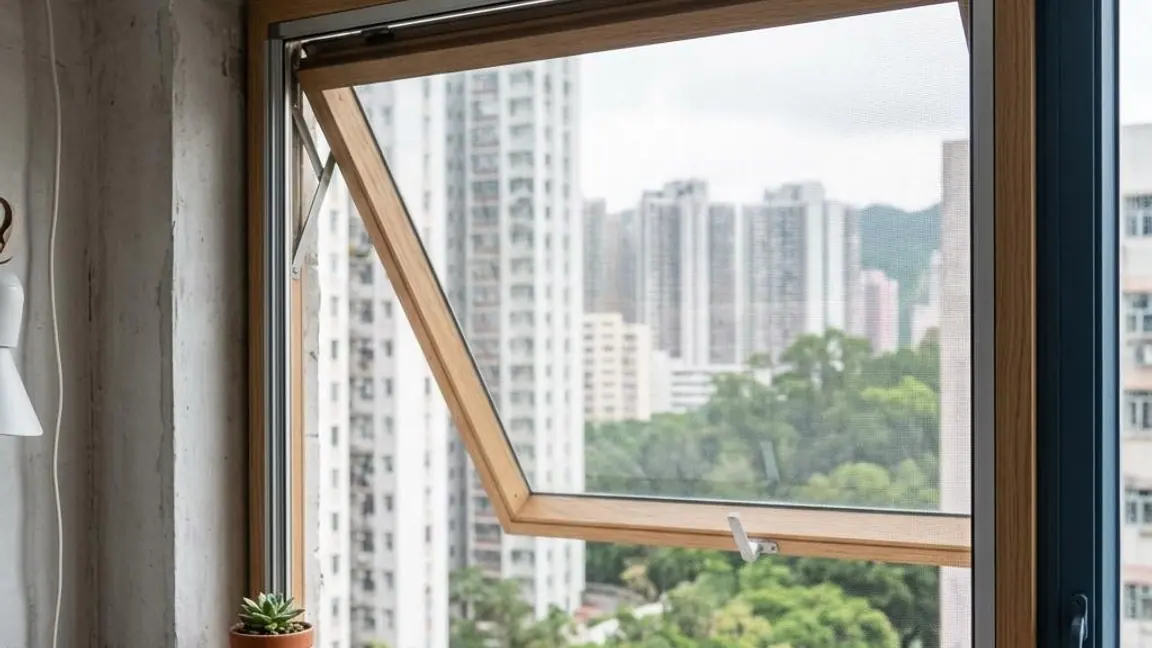
With the arrival of summer, the mosquito problem has also become more and more serious. For people living on higher floors, the installation of skylight insect screens is especially important. Compared with ground floors, high-rise apartments are more likely to attract mosquitoes and insects, so doing a good job of mosquito prevention for skylights is crucial. This article will introduce the installation steps of skylight insect screens in detail to help everyone create a comfortable home environment free of mosquitoes.
Choose the appropriate insect screen material
The choice of material for a skylight insect screen is very important, and durability, breathability and aesthetics need to be considered. Common materials include aluminium alloy, stainless steel and high-density polyethylene. No matter which material is chosen, make sure the mesh is fine enough to effectively block insects.
Measure the size and reserve installation space
Correctly measuring the skylight size is the key to installing an insect screen. First, use a tape measure to measure the length, width, and depth of the window frame to ensure the insect screen can fully cover the window. At the same time, leave installation space so screws and the frame can be fixed. If the window frame has a special shape, measurements should also be taken in advance.
Prepare installation tools and accessories
The installation of a skylight insect screen requires some common hardware tools, such as an electric drill, screwdriver, ruler, etc. In addition, suitable screw expansion tubes, sealant and other accessories should be prepared to ensure the insect screen is firmly installed and that gaps in the window frame are sealed. If you are not very familiar with the tools, you can seek help from a professional.
Installation steps
1. Clean the surface of the window frame: Carefully clean the window frame with a damp cloth to remove dust and debris, ensuring the insect screen can adhere firmly.
2. Fix the insect screen frame: Align the insect screen frame with the window position and use a pencil to make positioning marks on the window frame. Then use an electric drill to drill holes at the marked positions and insert expansion tubes, and finally use screws to secure the insect screen frame.
3. Seal the gaps: Use waterproof sealant to fill the gaps between the insect screen and the window frame, ensuring there are no gaps for mosquitoes or insects to enter.
4. Check the installation result: After installation is completed, carefully check whether the insect screen is secure and whether it can be opened and closed smoothly. If there are problems, make appropriate adjustments or reinstall it.
Looking for professional team help
For some users who are not very familiar with this, you may consider seeking professional insect screen installation services. Professional teams have extensive installation experience and can provide the best solution according to the actual situation. They can not only accurately measure window dimensions, but also choose suitable materials and accessories to ensure the insect screens are installed firmly and reliably. At the same time, professional teams usually also provide after-sales maintenance services and can promptly resolve problems that arise during use. Although a certain fee is required, it can save a lot of trouble and is worth considering.